Getting Started
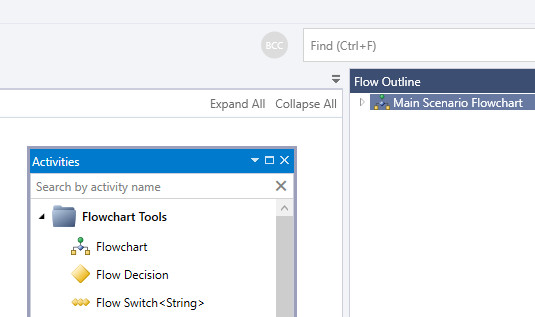
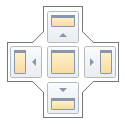
The size of almost every container on the main screen is adjustable – place your mouse pointer on the edge you want to move and when the mouse cursor changes the appearance (into double arrow: horizontal, vertical, or diagonal), click and drag the edge in an indicated direction. The Main Scenario Flowchart’ size is adjustable as well – you can enlarge it by clicking on the icon in the bottom right corner of the chart (light grey triangle) and dragging it right or down. The Flowchart also adjusts its size when you slowly draw out any activity box to the right or down over the edge of the chart. Almost every container on the screen may be also moved to rearrange the look of the startup screen. To do so grab the navy blue edge of the field and drag it. You can drop the chosen container anywhere or using the schem drop it on a chosen place.

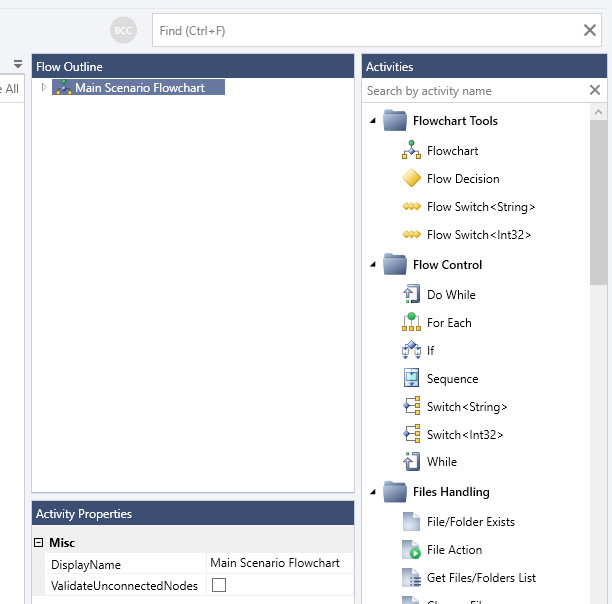
The schem shows on the screen during moving containers. You can move Activities toolbox to the very right side of application window, for example.


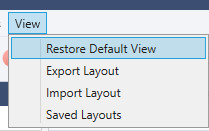
You can export preferred layout(s) to a file (XML configuration file [name].config), import any of them or - when you want to go back to startup layout - choose Restore default view option from a View. You have to use Restore hidden panel option after hiding any of moved containers.


To create a new scenario choose File > New Project.
To open an existing scenario click on Open button in the button menu. To speed up opening you can choose also File > Recent Projects and your five recently viewed files will show, ready to be clicked and open. You can use the keyboard shortcut Ctrl+O as well.
To save a scenario click Save button in the button menu or choose File > Save Project as and then choose place where to save the project and its name. Your file will have the extension .ws. You can use the keyboard shortcut Ctrl+S to save existing file as well.
NOTE: a little asterisks that shows from time to time on the Flowcharts tabs are here just to indicate that changes are made in scenario, but the project is not saved. The asterisk goes away after saving the scenario.
To run a scenario click on Run button in the button menu (or use keyboard shortcut F5).
To cancel running scenario click on Cancel button in the button menu (or use keyboard shortcut F12).